
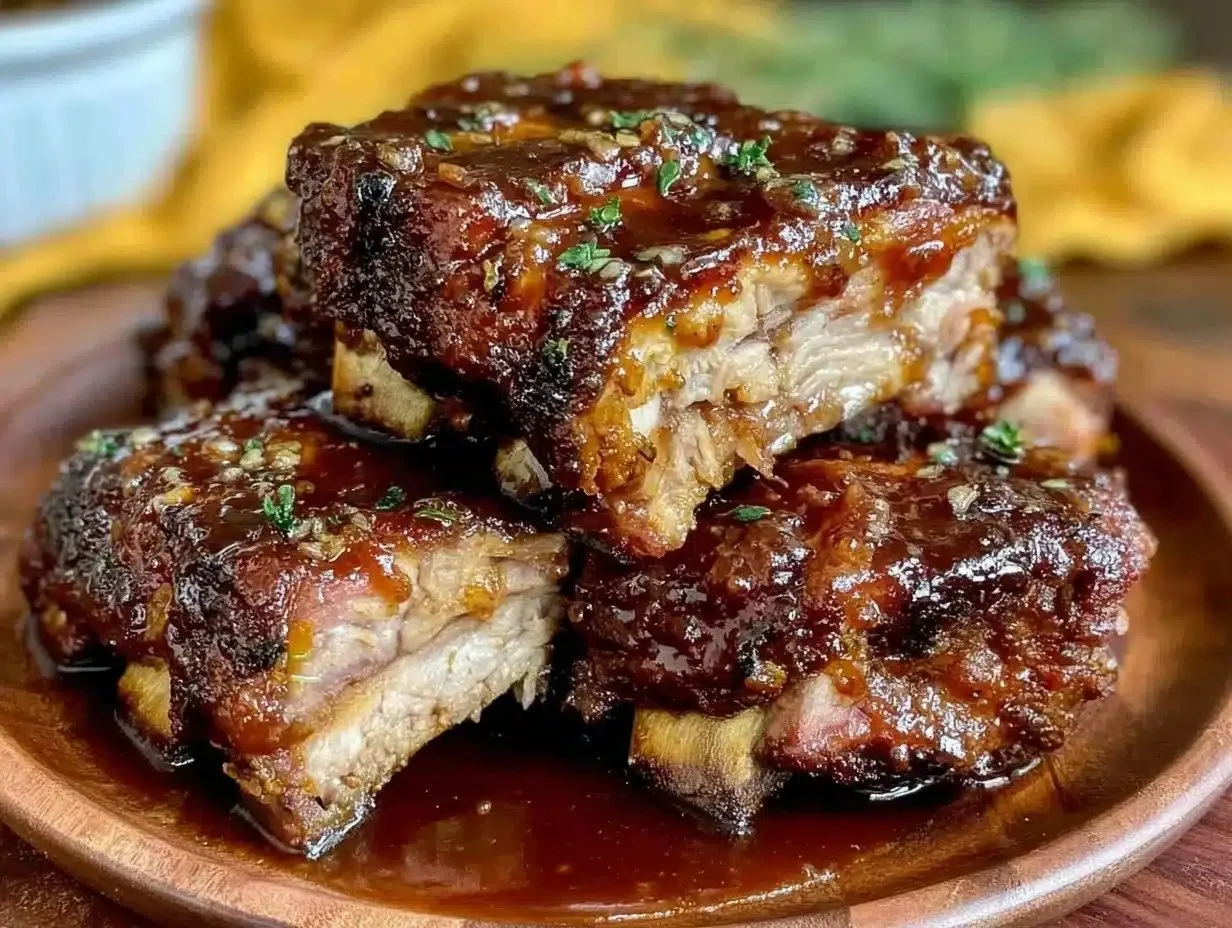
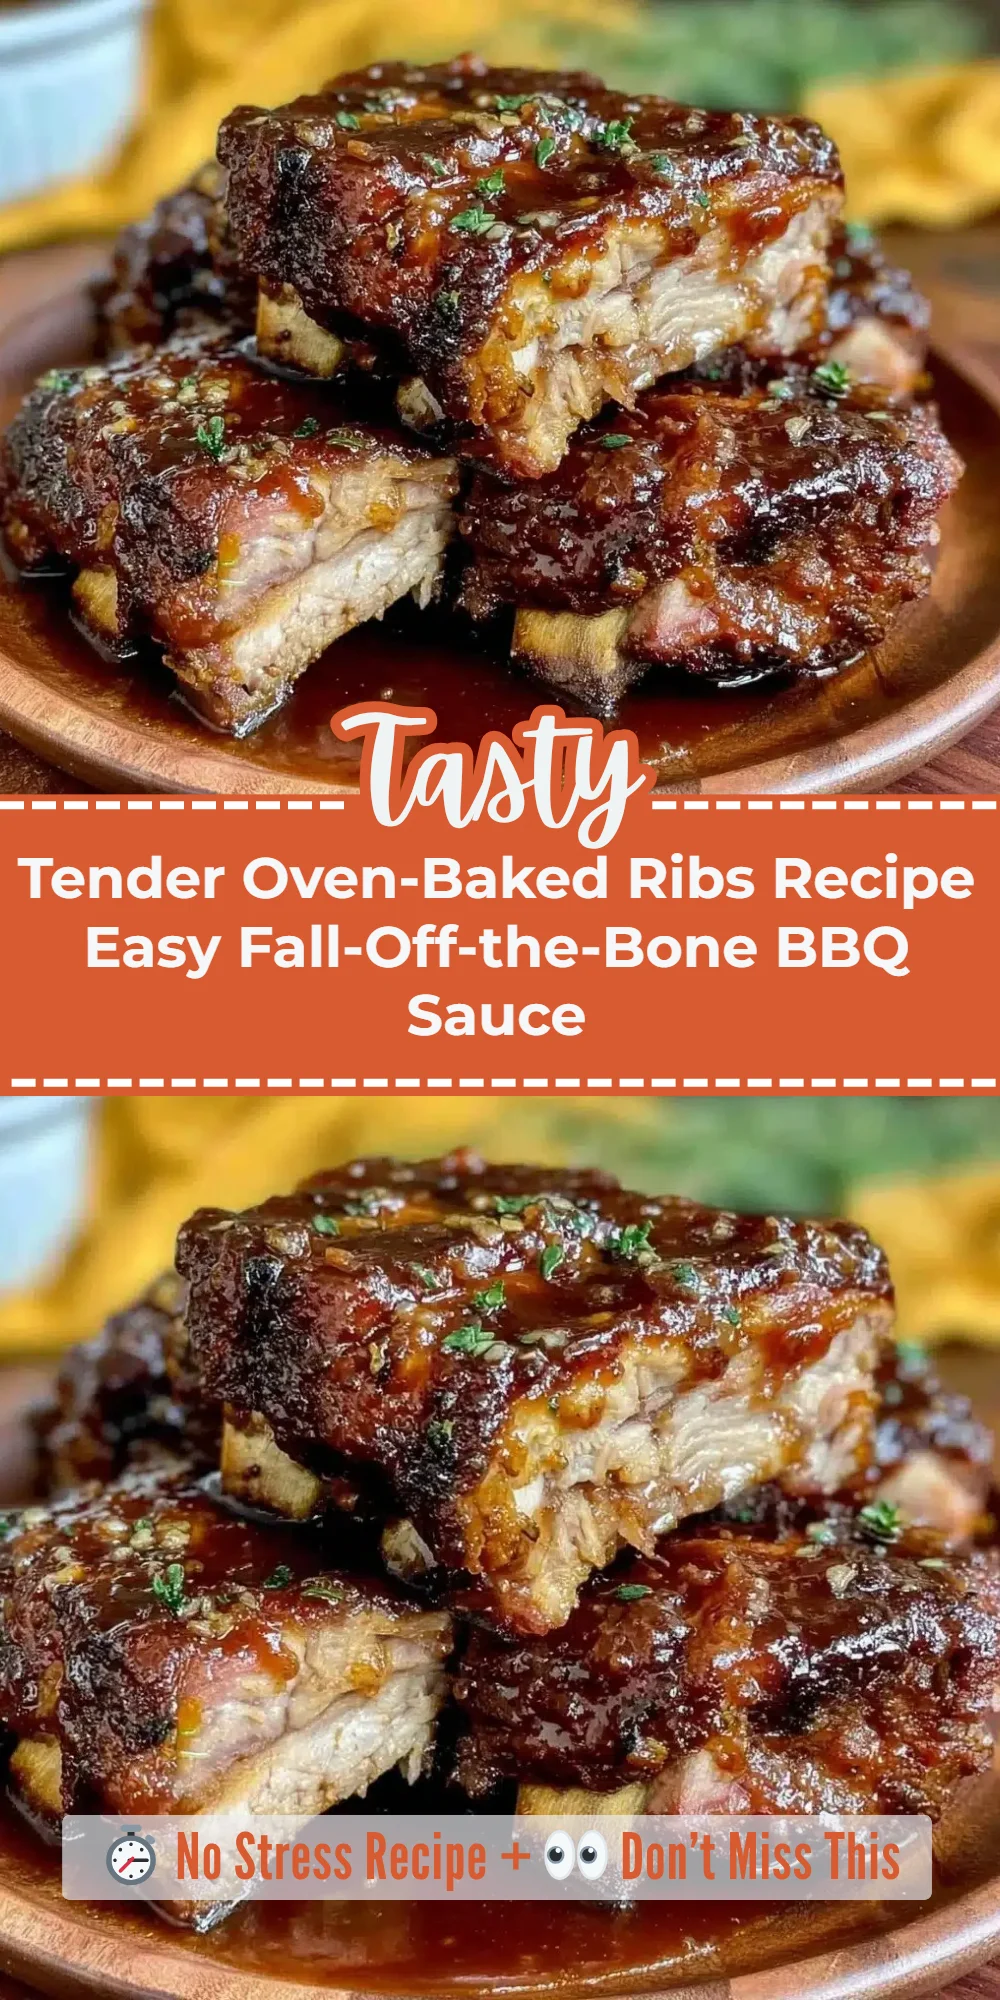
The aroma of tender, fall-off-the-bone ribs wafting through your home is hard to resist. This easy Tender Oven-Baked Ribs Recipe is your ticket to serving up juicy, flavorful BBQ ribs with minimal fuss. In just a bit over two hours, you can create a mouthwatering dish that impresses friends and family alike, thanks to the slow baking process at a low temperature that ensures the meat becomes incredibly tender.
This recipe is perfect for anyone looking to enjoy a hearty meal without spending all day in the kitchen. Ideal for weekend gatherings, game day, or a cozy family dinner, these ribs are sure to delight. You can even prepare the BBQ sauce in advance, making meal prep a breeze.
Why You’ll Love This Recipe
- The slow cooking method guarantees tender, juicy meat that falls off the bone.
- A homemade BBQ sauce elevates the flavor profile without preservatives.
- It’s a simple recipe with just a few easy steps to follow.
- Perfect for entertaining, with a rewarding presentation.
What You’ll Need
Gather these ingredients for your delicious ribs and BBQ sauce.
For the Ribs
- 2 to 3 pounds baby back ribs or spare ribs, trimmed of excess fat
- 1 tablespoon salt
- 1 teaspoon black pepper
- 1 teaspoon garlic powder
- 1 teaspoon onion powder
- 1 tablespoon paprika (smoked paprika preferred)
- 2 tablespoons brown sugar, packed
- 1 teaspoon chili powder
- 1/2 teaspoon mustard powder (optional)
For the BBQ Sauce
- 1 cup ketchup
- 2 tablespoons apple cider vinegar
- 2 tablespoons brown sugar
- 1 tablespoon Worcestershire sauce
- 1 teaspoon smoked paprika
- 1/2 teaspoon garlic powder
- Salt and pepper to taste
Use low-sugar ketchup for a healthier option.
Substitutions & Swaps
- Use spare ribs instead of baby back.
- Substitute honey for brown sugar in BBQ sauce.
- Use liquid smoke for a smoky flavor.
- Replace garlic powder with fresh minced garlic.
How to Make It
Follow these steps for tender, flavorful ribs that everyone will love.
Preheat the Oven
Preheat your oven to 275°F (135°C). This low temperature allows for slow cooking that makes the ribs tender.
Prepare the Ribs
Remove the silver skin from the ribs by sliding a knife under it and peeling it off.
Mix the Seasoning
In a small bowl, combine the salt, black pepper, garlic powder, onion powder, paprika, brown sugar, chili powder, and mustard powder. This mixture will enhance the flavor of the ribs.
Apply the Rub
Pat the ribs dry with paper towels, then rub the seasoning mix evenly over both sides. Ensure every inch is covered for maximum flavor.
Wrap the Ribs
Wrap the ribs tightly in aluminum foil and place them on a baking sheet or roasting pan with the foil seam side down. This keeps them moist while baking.
Bake the Ribs
Bake for 2 to 2.5 hours until the meat is tender and pulling away from the bones but not falling apart. Keep an eye on them to ensure they don’t overcook.
Make the BBQ Sauce
While the ribs bake, whisk together ketchup, apple cider vinegar, brown sugar, Worcestershire sauce, smoked paprika, garlic powder, salt, and pepper in a bowl to make the BBQ sauce.
Unwrap and Sauce the Ribs
Remove the ribs from the oven and carefully unwrap the foil. Brush the ribs generously with BBQ sauce for a flavorful glaze.
Return to Oven
Return the ribs to the oven at 400°F (200°C) for 10-15 minutes, basting once halfway through for a sticky finish.
Let Rest
Let the ribs rest for 5 minutes before slicing between the bones. This allows the juices to redistribute for the best flavor experience.
How to Store It
Fridge: Store in an airtight container for up to 3 days.
Freezer: Yes, you can freeze leftovers for up to 2 months.
Reheat: Microwave on medium power for 4-5 minutes.
Tips for Best Results
- Ensure the ribs are as dry as possible before adding the rub for maximum adhesion.
- Monitor the internal temperature; it should reach 190°F for best tenderness.
- Don’t skip the resting time; it enhances the overall juiciness of the ribs.
Serving Suggestions
- Pair with coleslaw for a refreshing crunch.
- Serve alongside cornbread for a hearty meal.
- Enjoy with your favorite grilled vegetables for a balanced plate.

Leave a Comment